You can buy a handheld water bottle at any running store or race expo, but they do get (relatively) pricey - $25 or up. While that's not going to break the bank, it is a fair amount of money to pay for something I may toss at some point during the race (or alternately, forget somewhere). Additionally, I've found that the fabric handles on most retailer handhelds are too large for my hands, and also don't last terribly long before fraying or stretching.
So...a few years ago, I started making my own handhelds. (To be clear, I make the handle, not the bottle itself - I'm not that crafty.) Here's how I do it.

2)

3)

Fold back the end of your doubled-back duct tape (try saying that three times fast) and cut a slit. By doing this, you are creating a slot in your handle for the neck of your water bottle. Make sure not to cut so far that the slit extends past the edge of the doubled-back tape - you want a hole at the top of your handle, not a "Y" shape.


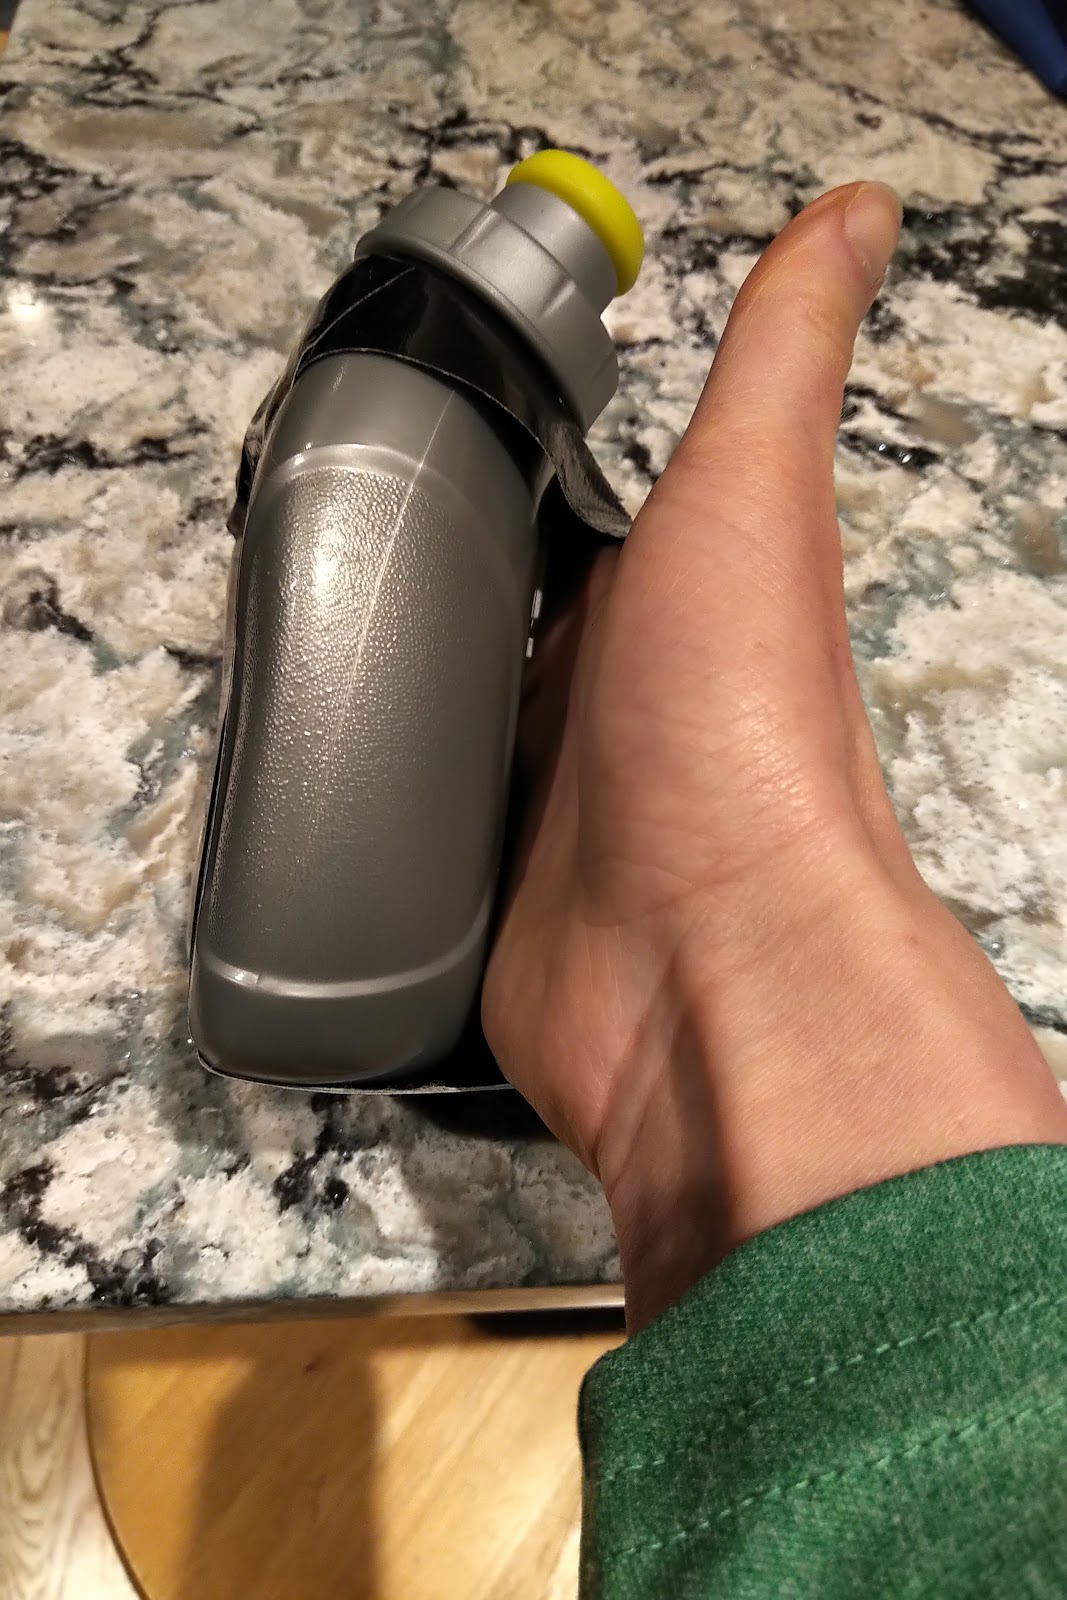
Insert the neck of the bottle into the hole you just created, then loop the rest of the duct tape around the bottle. If you've measured the length of your doubled-back tape just right, it will form a nice loop for your hand, with the doubled-back section of the tape ending at the bottom of the water bottle. Continue wrapping the duct tape around the bottom of the bottle and up the other side, with the sticky side of the duct tape adhering to the water bottle.
5)


Cut the tape near the top, and then affix that sticky end of duct tape over the bit of tape that extends from the neck of the water bottle.
6)
 And....that's it. You can either fill up the bottle, screw the cap on, and go on your way, or alternately peel the tape off and redo it if you're not happy with your initial result. Once you've got a bit of practice, this takes all of 60 seconds to do. (Of course, it often takes me a bit longer than that to track down the scissors and tape...).
As for how I use my water bottles when racing?
(well, besides the obvious, which is that I drink from them....)
  |
| Me carrying a hand-held at both Richmond Half and CIM; I think carrying the water bottle helped immensely in both,
despite cool temperatures. Photo on the left by Cheryl Young;
photo on the right purchased from FlashFrame photography.
|
As I noted above, I like to start any race that is 10 miles or longer with one of them, unless I'm fortunate enough to be running a race where they'll let me set out water bottles in advance. I'll carry a bottle even if it's cold - I train with one all the time, so I'm very comfortable carrying it, and I don't think it slows me down at all.
Plus, my coach has emphasized that staying hydrated can be important even in cool conditions. While you're unlikely to collapse from dehydration in 40 degrees, you do still sweat a bit, and staying hydrated throughout the race puts me in a better place to close hard in the last miles. Better hydration -> higher blood volume - > better energy delivery.
I'll sip continuously from the bottle as I run (using water stops as a reminder to sip, if I haven't done so in a while). When my bottle is empty, I'll unscrew the cap and tuck it into my sports bra. Then, at the next water stop, I'll slow to a jog, grab a cup, and pinch that cup to make a spout. Then I'll pour the cup into my water bottle. (if there's little water in the cup, I'll grab a second and repeat this process). Then screw the cap back on (still jogging), gently re-accelerate, and merge back into the race.
I lose only 2-3 seconds doing it this way, less than I would lose if I stopped or walked at the water station. I don't try to make up the few seconds I've lost by surging - doing so would just waste valuable energy (think of it this way: when you're trying to make it home on a single tank of gas, you don't floor the gas after a stop light). Instead, I consider the few seconds spent at the water stop a valuable investment in the final miles.
I bought a bottle band (https://bottleband.net/) to turn any bottle into a handheld - and then you can pitch the bottle when you're done, and wear the band like a bracelet. But it wouldn't work on small bottles. And I forget to bring it half the time. This week our long run ended in high 70's with high humidity, and we had a 9-mile workout portion and I almost died of thirst (so I stopped and got water, oh well). I should probably get used to having a bottle in my hand!
ReplyDeleteDoes that help when the water is super cold? My biggest issue when carrying a water bottle is that once it falls below 40 degrees, the water gets too cold for my hand to touch, even if I am wearing mittens with hand warmers inside them. I love the innovation.
ReplyDelete